Personalize the COMSOL Desktop®
As covered in the first part of this course, the COMSOL Desktop® is the integrated user environment for creating and managing simulations in the COMSOL Multiphysics® software. It includes the Model Builder, Application Builder, and Model Manager workspaces. There are many parts to each workspace, and in this part of the course, we will show you some examples to personalize the COMSOL Desktop®.
Customizing the Layout of the COMSOL Desktop®
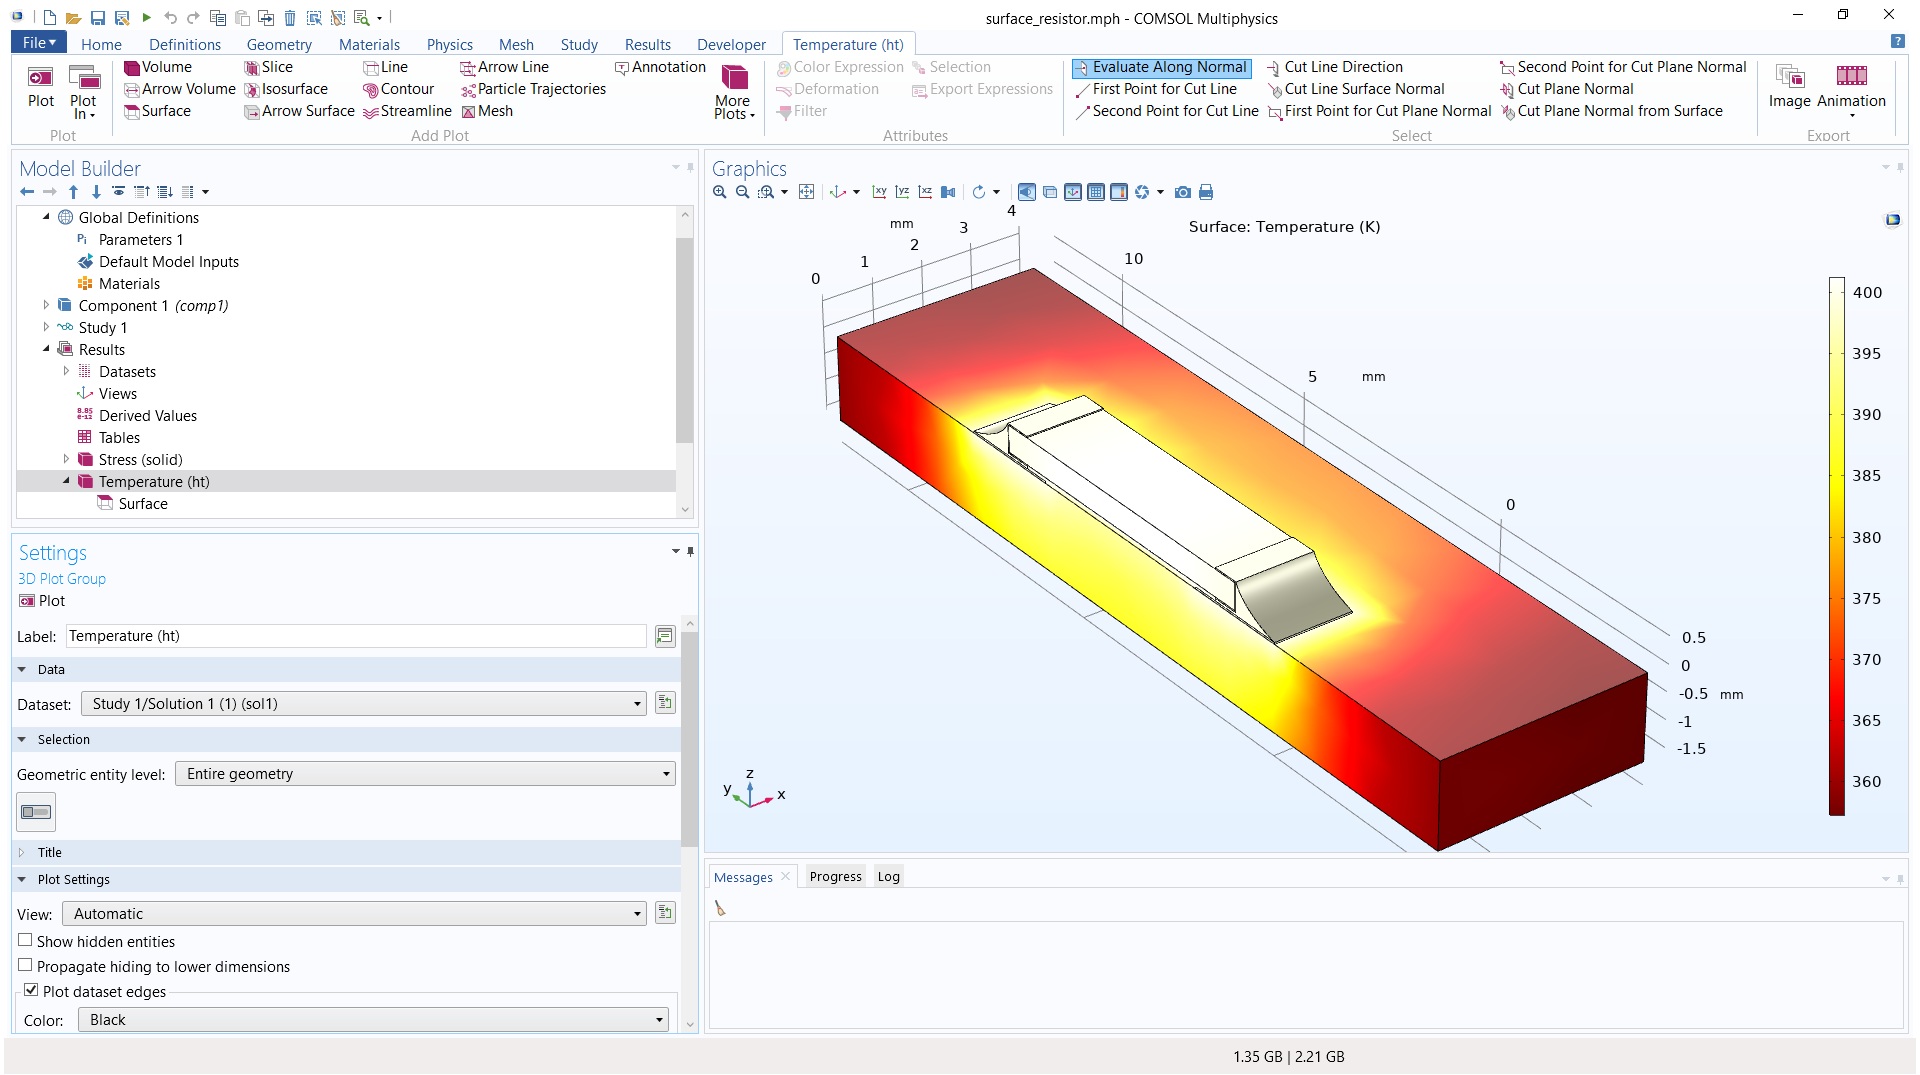
The COMSOL Multiphysics® user interface contains a number of windows, each with its own purpose. The following windows are always present:
- Model Builder, which provides a model tree with an overview of the contents of your current model
- Settings, which contains all settings for the selected node in the Model Builder window
- Graphics, which displays the geometry and mesh and also shows plots of the results
- Messages, Progress, and Log, which usually appear as a group of three tabbed windows at the bottom of the screen and provide general messages, progress for the solvers, and a log of the model properties and solver activities, respectively
Of these windows, only the Messages window can be closed. There are also a number of other windows that you can open from the Window menu.
Maximizing Windows
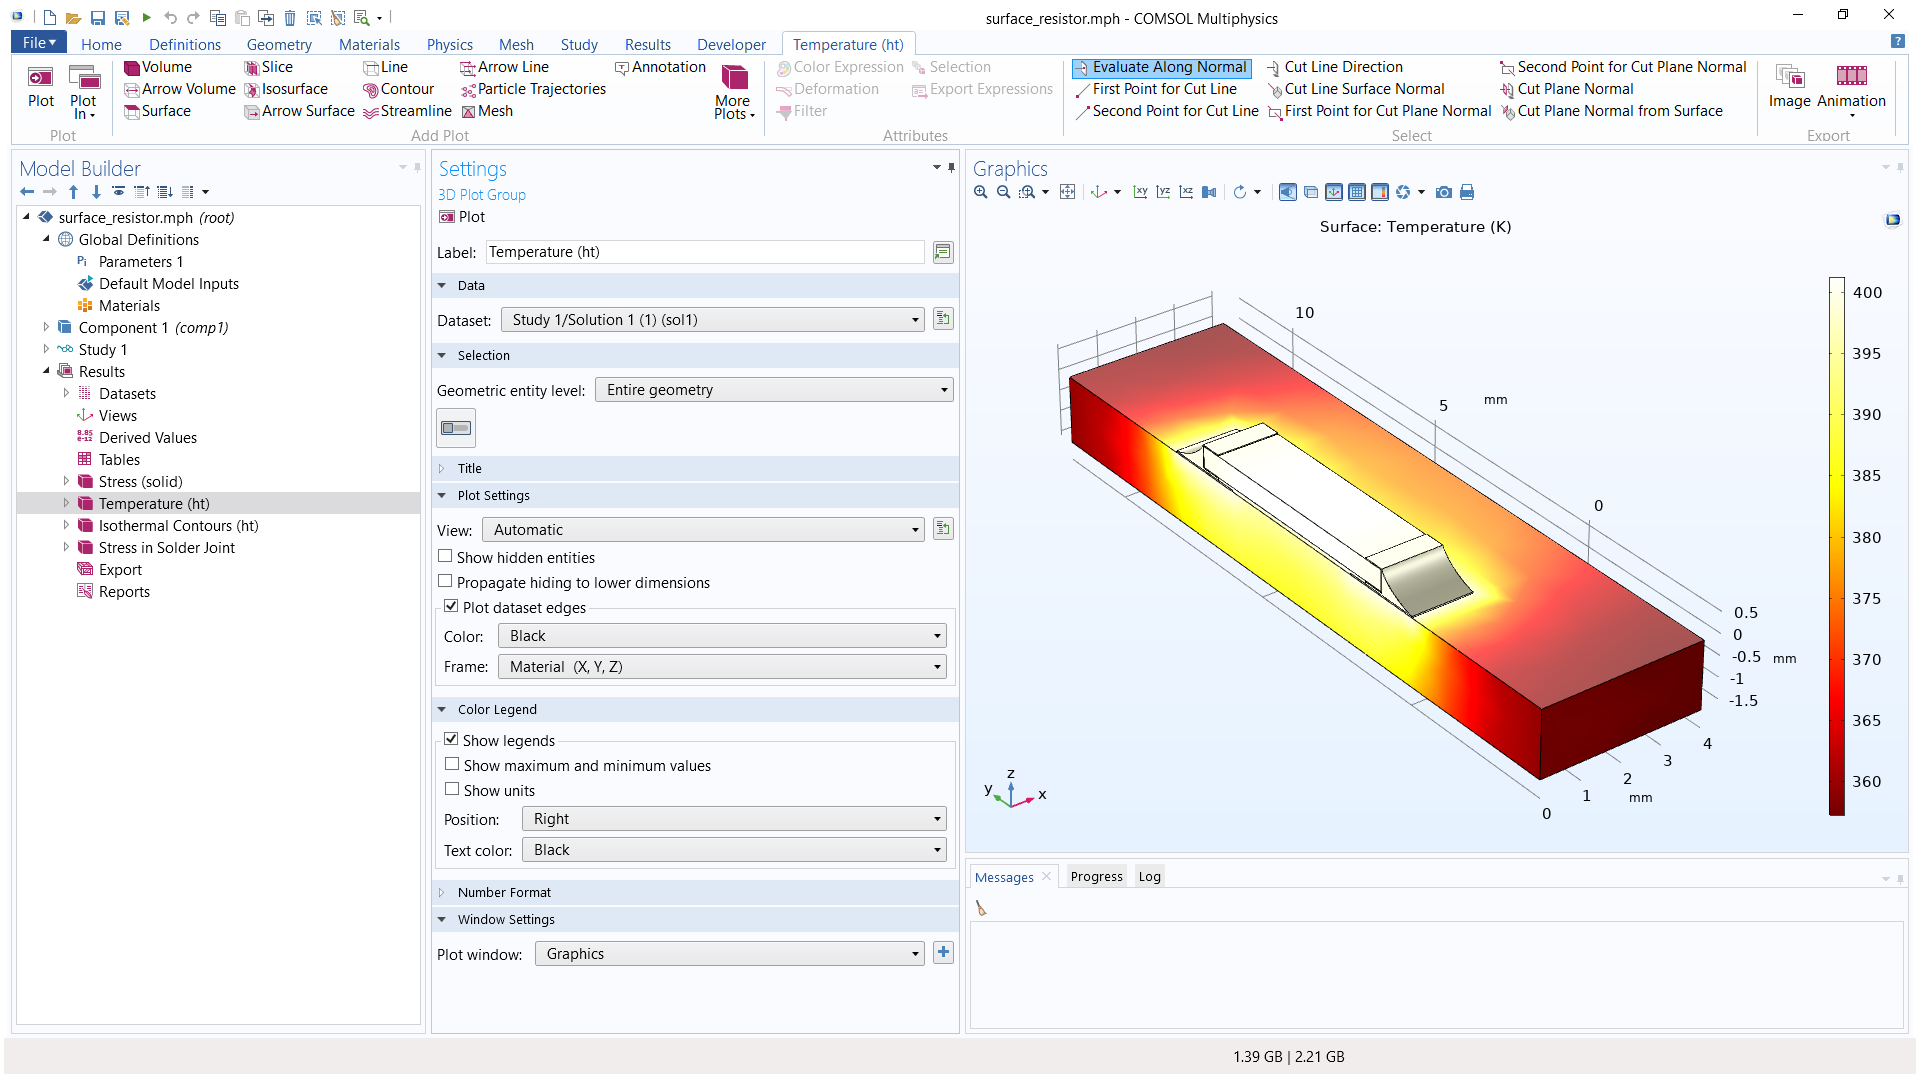
If you want to increase the size of the Graphics window for displaying a results plot, for example, you can maximize it by double-clicking at the top of the window. The window then becomes maximized and all other windows are hidden. Double-click again and the user interface is restored to the previous layout, before the window was maximized. You can maximize any window in the user interface this way.
Resizing, Floating, Hiding, and Closing Desktop Windows
To resize a window, click and drag the edges of the window to increase or decrease its width or height. You can also make a window “float”, or detach it, in three ways. One option is to drag the window outside of the desktop, or you can right-click the window and choose Float. Or, choose Float from the Window position menu at the upper-right corner of the window (the small downward-pointing arrow). This detaches the window, which “floats” as a separate window on the screen. You can move and resize a floating window as desired.
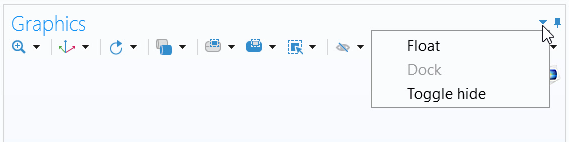
The Window position button and menu.
To dock a floating window, right-click at the top of the window and choose Dock, or choose Dock from the Window position menu. The window is then docked into its previous location. You can also move a floating window on top of the COMSOL Desktop® and click it to display a positioning guide. Then, you can move the floating window to the position relative the window that you positioned it above. The floating window is docked into that position (see the next section).
 A screenshot of the Model Builder, with the model tree on the left, 3D Plot Group settings in the center, and Graphics window with a surface transistor model open and the positioning guide shown as an overlay.
The positioning guide for docking a window to the COMSOL Desktop.
To hide a window in the Linux® operating system or macOS version of the software, right-click the top of the window and choose Toggle hide or click the Toggle hide button at the upper-right corner of the window (the pushpin icon). The window is hidden, but its name appears in the left or right margin. To restore the window, move the mouse to the window’s name in the margin, right-click the top of the window, and choose Toggle hide or click the Toggle hide button.
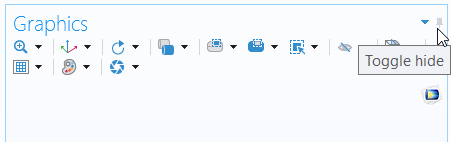
The Toggle hide button.
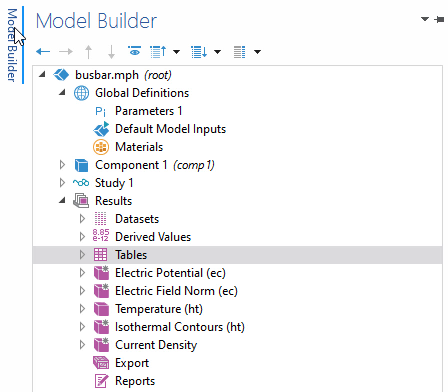
The cursor hovering over the Model Builder tab in the tray, yielding a preview of the currently hidden window.
Some of the most important windows, listed at the start of this article, are not closable. To close any of the other windows, click the Close button (the cross). To open a closed window again, choose it from the Windows menu.
Tiling Plot Windows to Show Multiple Plots and Graphs
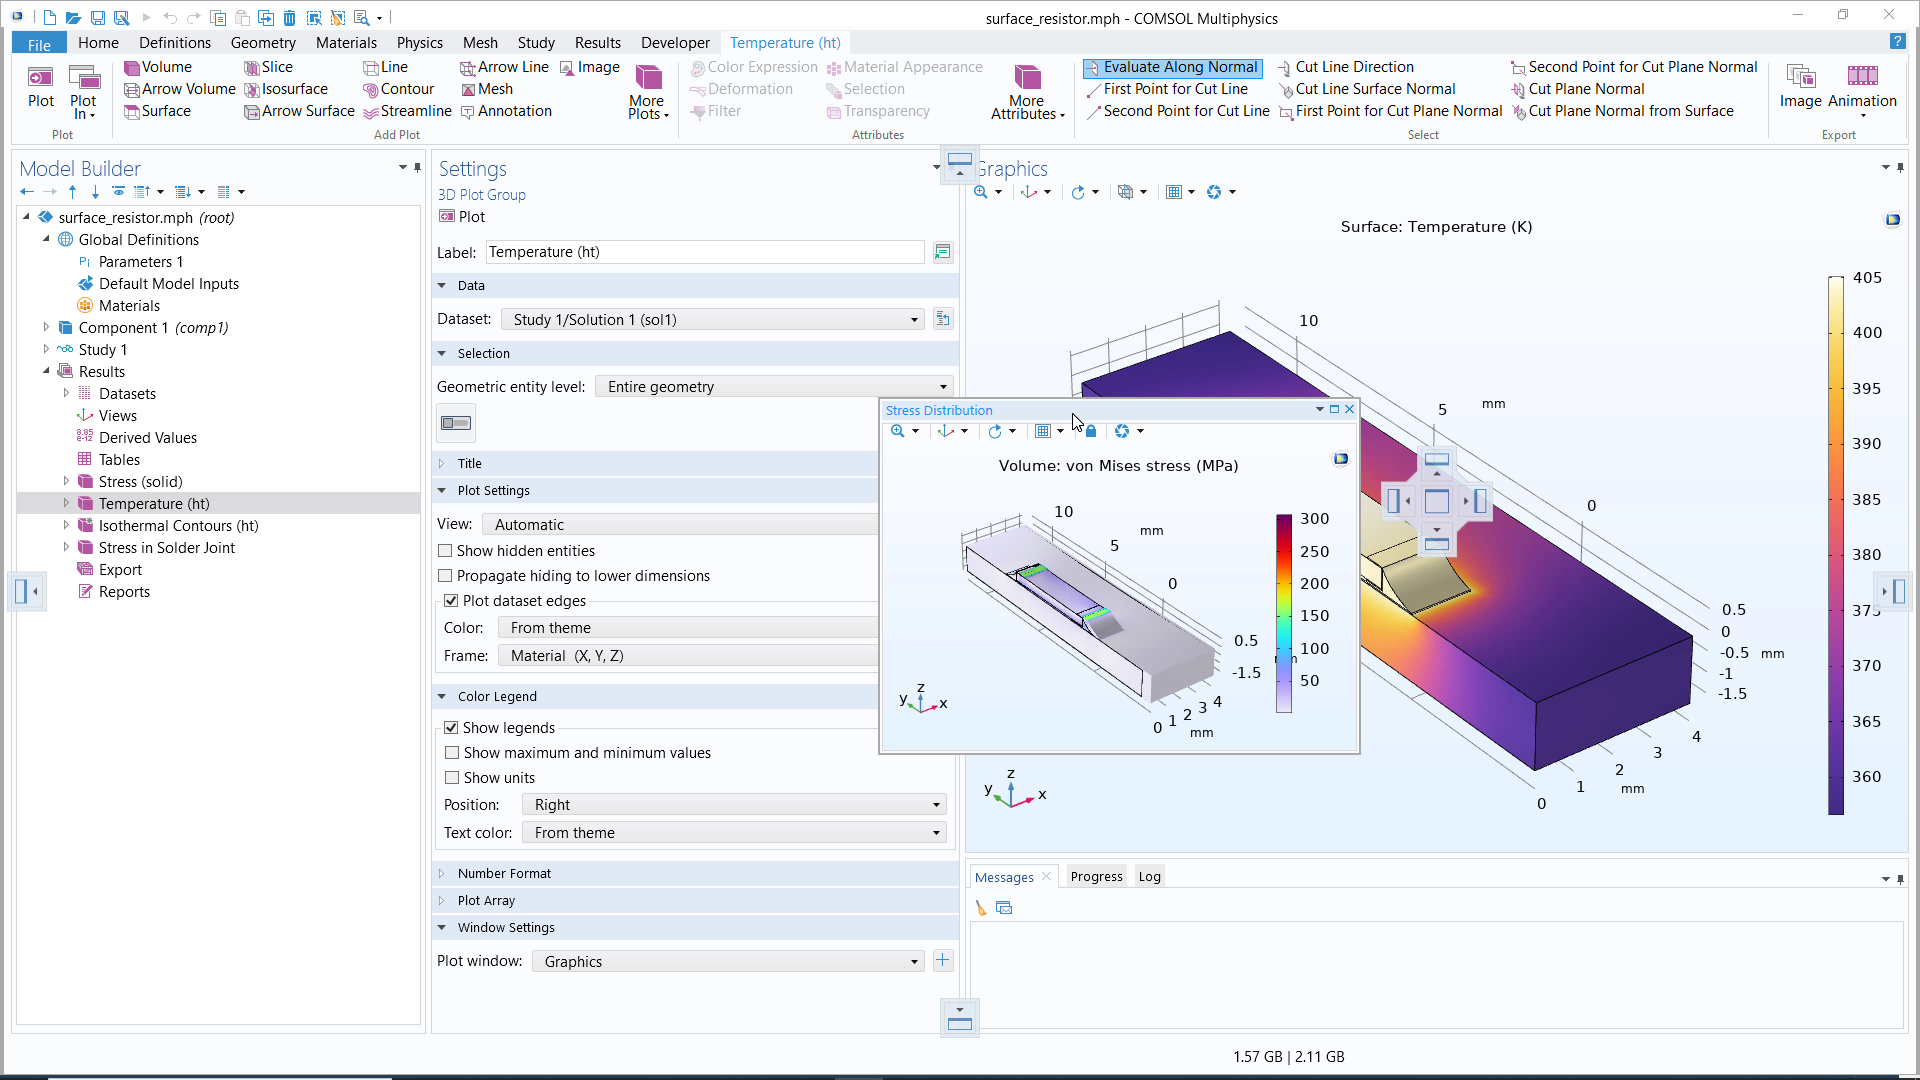
You can use the flexibility of the user interface to tile several plot windows so that you can view them simultaneously. Doing this allows you to show multiple different results plots for a model's solution. We will use the surface resistor tutorial model below as an example.
To visualize multiple plots at once in the Graphics window, complete the following steps:
- Select the first plot node you want to display
- In the Settings window, open the Window Settings section
- In the Plot window drop-down menu, select New window
- Check the Window title box and enter a name the window in the text field
- Click the + button next to the drop-down menu and then click Plot at the top of the Settings window
- Repeat this process for each plot you plan to tile
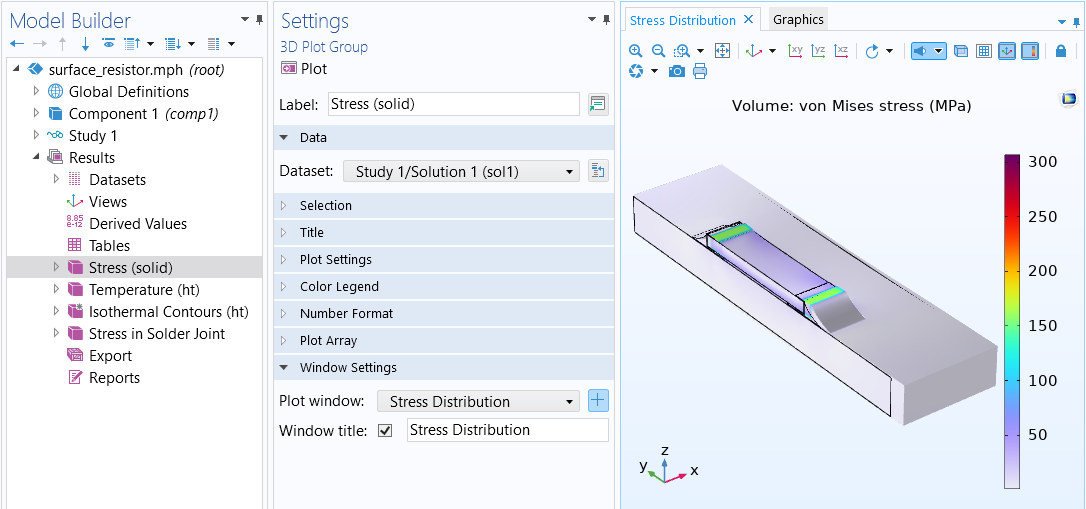 The Window Settings section, wherein the settings have been updated so that the stress results are displayed in a seperate plot window named Stress Distribution.
To tile the plots, proceed as follows:
- Click and drag on the tab for the new plot, which appears in the Graphics window next to the Graphics tab
- Alternatively, select the tab, click the carrot in the top right of the Graphics Window, and choose float
- Drag and drop the window into the position desired using the position guide
- Continue to drag windows into the desired positions
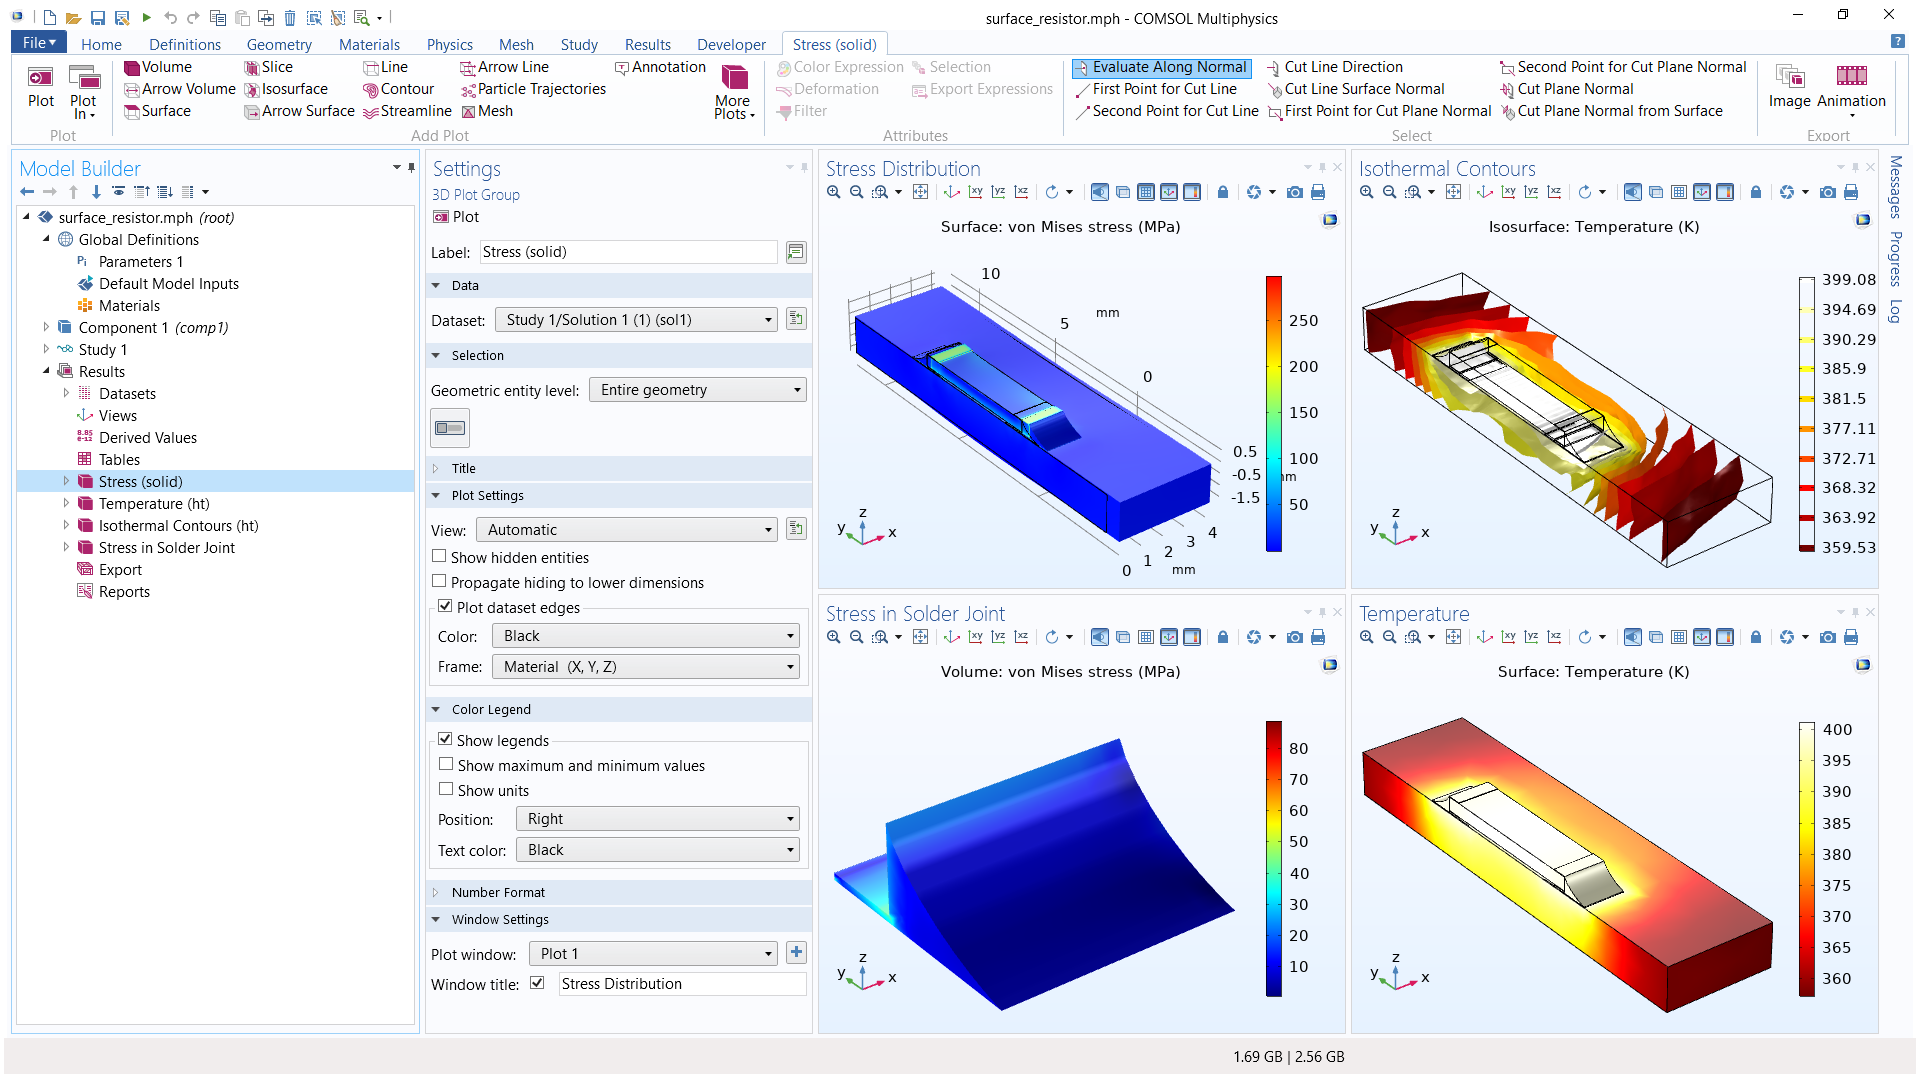
Four Plot windows tiled to show four aspects of the model solution (clockwise from the top-left plot: temperature distribution, stress distribution, stress distribution in the solder joint, and isothermal contours).
Show Option for the Messages Window
If you want to hide the Messages window, you can have it reappear when you have a new message. You will see the option Show on New Message in the Messages window, which enables or disables the window appearing on top when new messages are added. The button for the option is shown below.
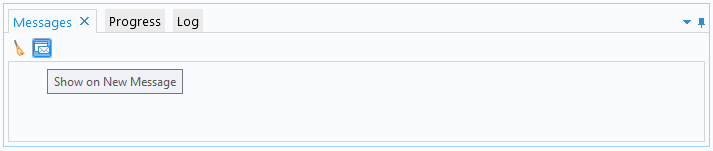
The Show on New Message option in the Messages window.
Restoring the COMSOL Desktop® to a Built-In Layout
After adding and rearranging a number of windows, you might want to return to the default layout. To do so, click the Reset Desktop button. This will close any added windows and restore the size and position of the windows discussed previously.
There are two built-in layouts to choose from:
- Widescreen
- Designed for larger, widescreen displays
- The Model Builder, Settings, and Graphics windows appear side by side
- Regular Screen
- Designed for smaller, regular screens
- The Model Builder window is placed on top of the Settings window, with the Graphics window on the side
One of these layouts is always selected, and it’s the selected layout that the Reset Desktop button restores.
The widescreen layout (left) and regular layout (right) for a reset desktop.
The desktop appears in your modified layout until you select the Reset Desktop button. You can use this ability to keep two custom layouts with a Widescreen Layout for one purpose and a Regular Screen Layout for another purpose. For example, if your desktop computer setup includes dual monitors, you can configure the Regular Screen Layout so that the COMSOL Desktop® appears in one monitor with the Model Builder and Settings windows (and perhaps other windows of interest). You can then have a floating and maximized Graphics window fill the second window. Such a configuration can be useful for postprocessing and visualization of results. The Widescreen Layout could then keep its basic integrated environment and perhaps be used for preprocessing and setting up the geometry and physics. You can then quickly switch between the custom layouts by choosing Widescreen Layout or Regular Screen Layout.
Customizing the COMSOL Desktop® for the Linux® Operating System and macOS
The previous examples use the Windows® version of the COMSOL Desktop®. The Linux® operating system and macOS version of the COMSOL Desktop® are slightly different. The following differences are the most important:
- The Reset Desktop, Widescreen Layout, and Regular Screen Layout options are on the Desktop Layout submenu of the Windows menu
- There is no Quick Access Toolbar
- You can maximize a window by clicking the Maximize button in the upper-right corner of the window
- The Minimize (left) and Maximize (right) buttons are in the upper-right corner of windows in the user interface for Linux® and macOS
- There are no Float or Dock commands, but windows can be dragged outside of the COMSOL Desktop® to make them float and can be moved to new positions
- There is no positioning guide
Linux is a registered trademark of Linus Torvalds in the U.S. and other countries. macOS is a trademark of Apple Inc., in the U.S. and other countries. Microsoft and Windows are either
registered trademarks or trademarks of Microsoft Corporation in the United States and/or other countries.
Envoyer des commentaires sur cette page ou contacter le support ici.